This guide shows how to connect an SSD1306 OLED display to an ESP32 using I2C communication.
You’ll learn how to wire the display, install the required libraries, upload working code, and display text on the screen.
The SSD1306 OLED is one of the most popular displays for ESP32 projects because it is inexpensive, compact, and requires only two communication pins.
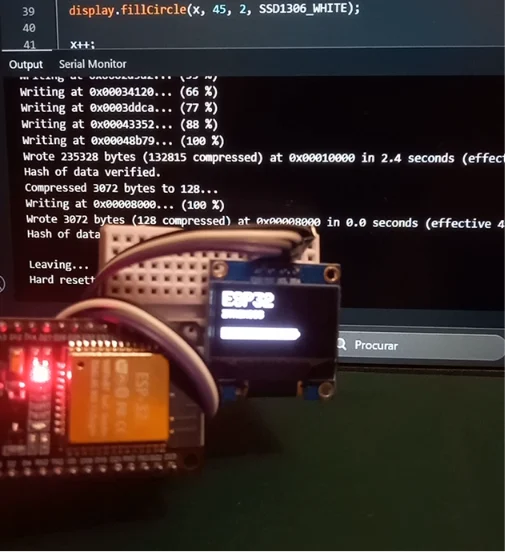
This tutorial includes:
- ESP32 OLED wiring
- SSD1306 Arduino library installation
- Working ESP32 code
- Display text example
- Troubleshooting tips
- GitHub source code
Display MPU6050 Data on an OLED
After connecting the OLED display, you can show live accelerometer and gyroscope values from an MPU6050 sensor.
This combination is one of the most common in robotics, self-balancing robots, drone controllers, and motion detection projects and games.
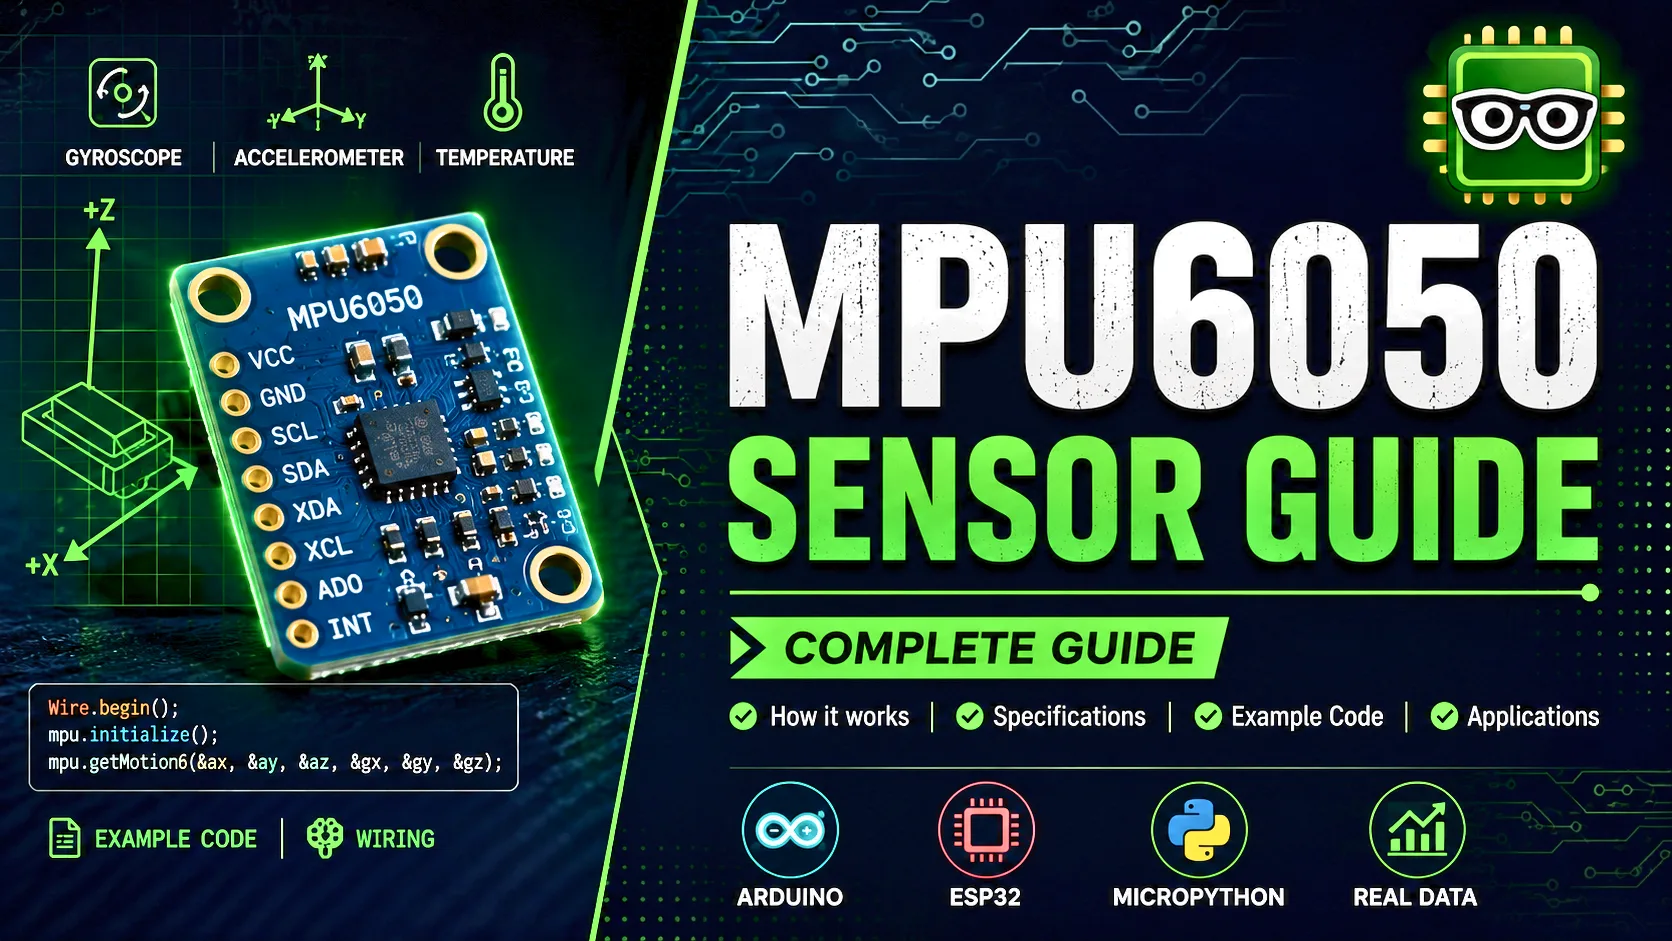
Follow our complete MPU6050 Arduino Guide to learn how to read the sensor before displaying the values on the OLED.
What is an SSD1306 OLED Display?
The SSD1306 OLED display is a small monochrome display commonly available in:
- 128×64 pixels
- 128×32 pixels
Unlike LCD displays, OLED technology provides:
- High contrast
- Wide viewing angles
- Low power consumption
- No backlight required
These displays are widely used in:
- IoT devices
- ESP32 projects
- Arduino projects
- Games projects
- Robotics
- Home automation
- DIY electronics
Required Hardware
| Component | Recommended Product | Buy |
|---|---|---|
| ESP32 Development Board | ESP32 DevKit V1 | 🛒 AliExpress |
| SSD1306 OLED Display | SSD1306 OLED Display | 🛒 AliExpress |
| Breadboard | Solderless Breadboard | — |
| Male-to-Female Jumper Wires | Jumper Wires | — |
Some links on this page are affiliate links. If you purchase through them, Embedded Nerd may earn a small commission at no additional cost to you. This helps support the website and allows us to continue creating free tutorials and guides. Thank you for your support!
ESP32 OLED Wiring
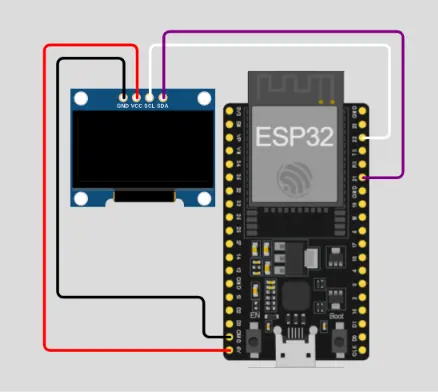
I2C Connections
| OLED Pin | ESP32 |
|---|---|
| VCC | 3.3V |
| GND | GND |
| SDA | GPIO21 |
| SCL | GPIO22 |
Wiring Notes
The default I2C pins on most ESP32 boards are:
- SDA → GPIO21
- SCL → GPIO22
Most SSD1306 OLED modules use the default I2C address:
0x3C
Some displays use:
0x3D
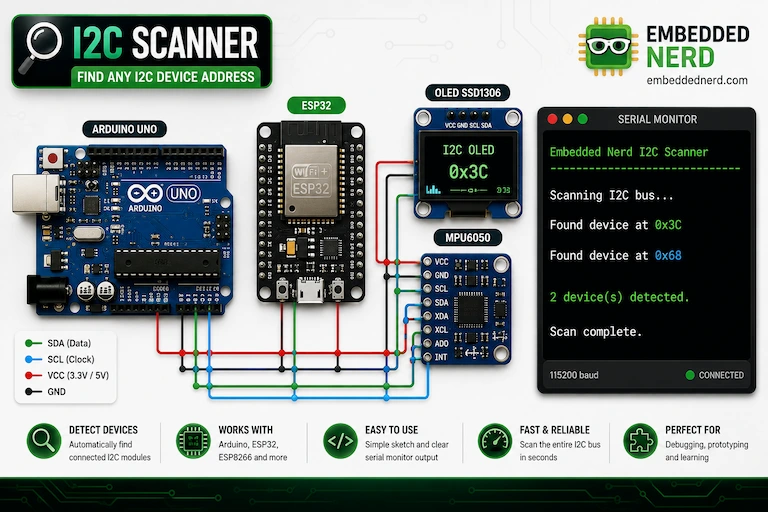
If your display is not detected, run an I2C Scanner sketch to find the correct address.
Install Required Libraries
Open Arduino IDE.
Go to:
Sketch → Include Library → Manage Libraries
Install:
- Adafruit SSD1306
- Adafruit GFX Library
These libraries make it easy to draw text, shapes, and graphics.
ESP32 OLED Code Example
// =====================================================
// Embedded Nerd
// https://embeddednerd.com
// ESP32 OLED Tutorial
// =====================================================

#include <Wire.h>
#include <Adafruit_GFX.h>
#include <Adafruit_SSD1306.h>

#define SCREEN_WIDTH 128
#define SCREEN_HEIGHT 64

Adafruit_SSD1306 display(SCREEN_WIDTH, SCREEN_HEIGHT, &Wire, -1);

void setup() {

  Serial.begin(115200);

  if(!display.begin(SSD1306_SWITCHCAPVCC, 0x3C)) {

    Serial.println("OLED allocation failed");

    while(true);

  }

  display.clearDisplay();

  display.setTextSize(2);

  display.setTextColor(WHITE);

  display.setCursor(0,0);

  display.println("Embedded");

  display.println("Nerd");

  display.display();

}

void loop() {

}
How the Code Works
display.begin()
Initializes the OLED display using the I2C address.
clearDisplay()
Clears the screen before drawing new content.
setCursor()
Defines where the text starts.
println()
Writes text into the display buffer.
display()
Updates the OLED with everything stored in memory.
Nothing appears until this function is called.
Expected Output
The OLED should display:
Embedded
Nerd
Drawing Graphics
The SSD1306 library can also draw:
- Lines
- Rectangles
- Circles
- Triangles
- Bitmaps
- Custom icons
Example:
display.drawCircle(64,32,20,WHITE);
display.display();
Display Sensor Data
The OLED is commonly paired with sensors such as:
- DHT22
- BME280
- BMP280
- MPU6050
- HC-SR04
- DS18B20
Example:
display.setCursor(0,0);
display.print("Temp: ");
display.print(24.6);
display.println(" C");
display.display();
Common Problems
OLED Not Found
Possible causes:
- Wrong I2C address
- Incorrect wiring
- Loose jumper wires
Run an I2C Scanner sketch to detect the display.
Blank Screen
Possible causes:
- Forgot to call:
display.display();
- Wrong OLED library
- Incorrect power connection
Garbled Display
Try:
- Clearing the display first
display.clearDisplay();
- Checking display resolution (128×64 vs 128×32)
- Verifying the correct constructor
Popular ESP32 OLED Projects
The SSD1306 display is widely used in:
- Weather stations
- IoT dashboards
- Wi-Fi signal monitors
- Smart clocks
- Battery monitors
- Sensor dashboards
- GPS displays
- Home automation
- Arcade games
Recommended Starter Kits
Useful products for this project:

ESP32 DevKit V1
ESP32 development board with integrated Wi-Fi and Bluetooth, ideal for IoT, automation and embedded electronics projects.
🛒 Check Price on AliExpressRecommended Starter Kits
Useful products for this project:
GitHub Source Code
The complete project code is available in the GitHub repository.
You can extend this tutorial by adding:
- Wi-Fi information
- Sensor readings
- MQTT dashboards
- Animations
- Custom fonts
- Battery monitoring
Related Tutorials
- ESP32 WiFi Tutorial
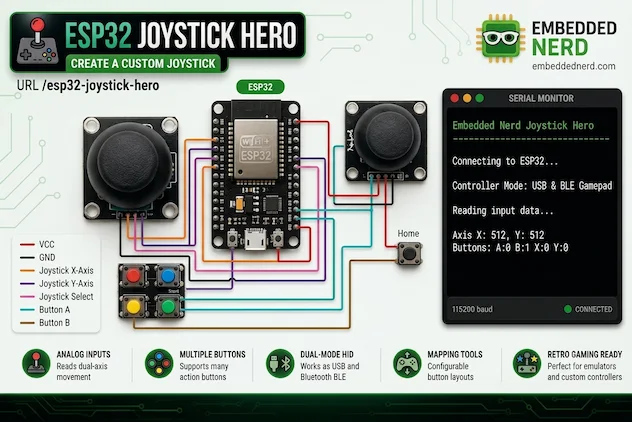
- Esp32 Joystick Tutorial
- MPU6050 Arduino Guide
- I2C Scanner Tutorial
- BME280 ESP32 Tutorial
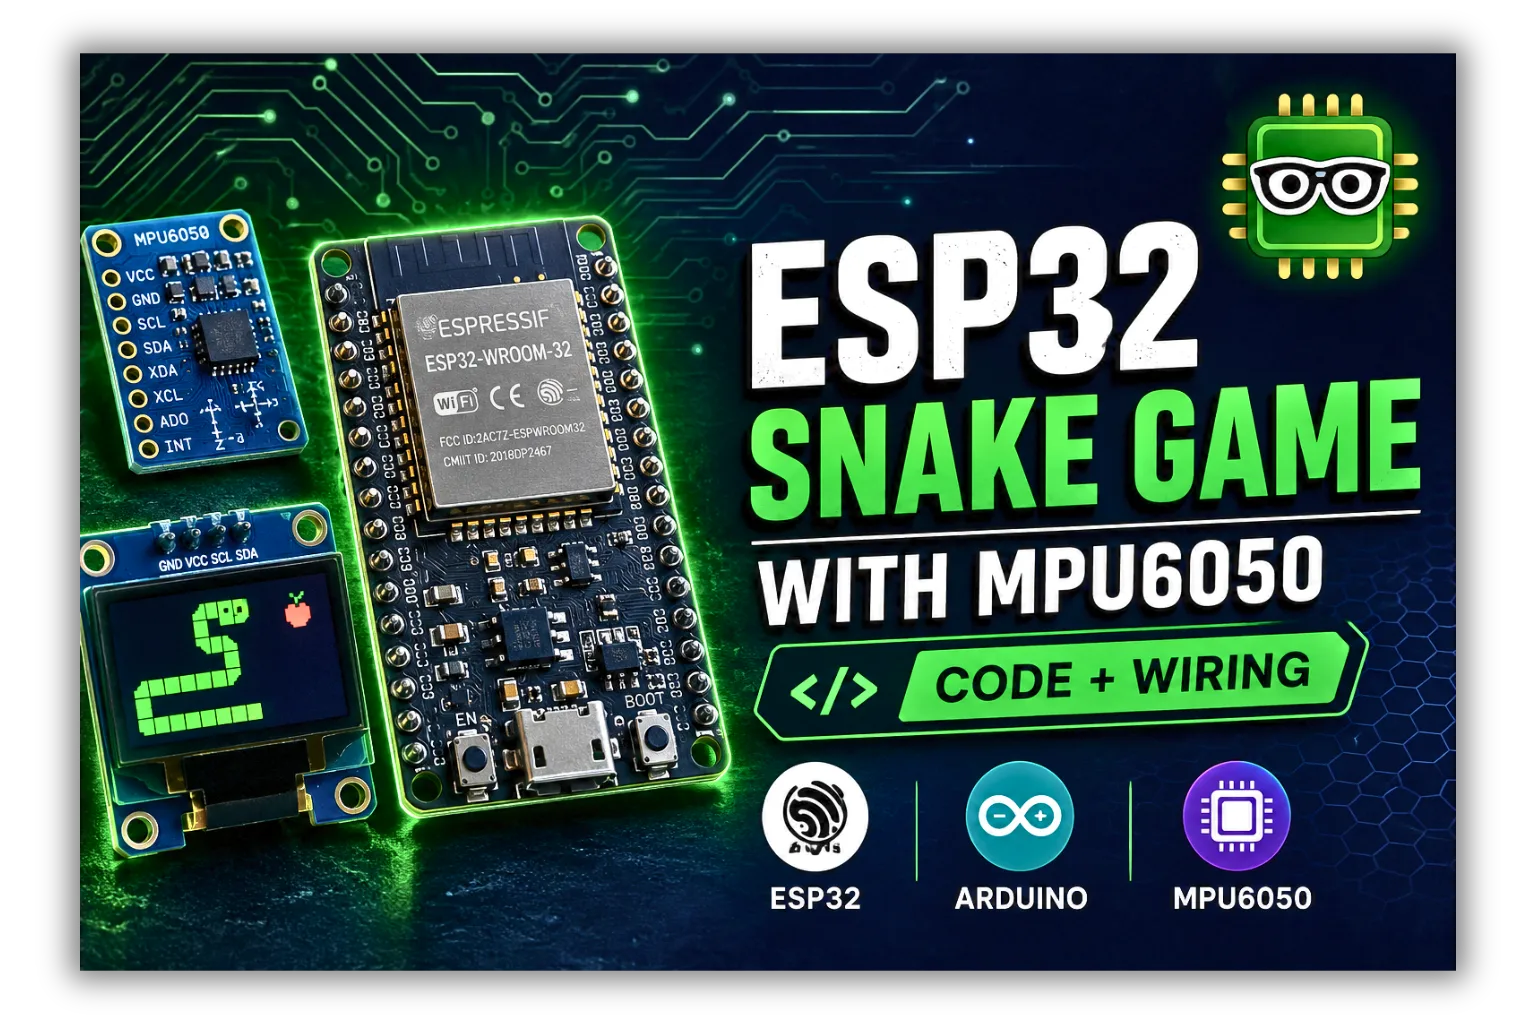
- ESP32 Snake Game with MPU6050 and OLED Display
Frequently Asked Questions
Can I use a 5V OLED with ESP32?
Most SSD1306 modules work with both 3.3V and 5V power, but always check your module specifications.
What is the default I2C address?
Usually:
0x3C
Some displays use:
0x3D
Can multiple I2C devices share the same bus?
Yes.
As long as every device has a different I2C address, multiple sensors and displays can share GPIO21 and GPIO22.
Conclusion
The SSD1306 OLED display is one of the easiest and most useful displays for ESP32 projects.
With only four wires and a few lines of code, you can build professional-looking interfaces for IoT devices, robotics projects, weather stations, and smart home systems.
Once you’re comfortable displaying text, you can move on to graphics, icons, sensor dashboards, and real-time data visualization for more advanced ESP32 applications.